Fit and sizing
Sizing a backpack: torso length, load weight and where the weight sits
Fit a pack by torso length rather than height, keep the load under a defined share of body weight, and adjust the straps in the order that actually works.
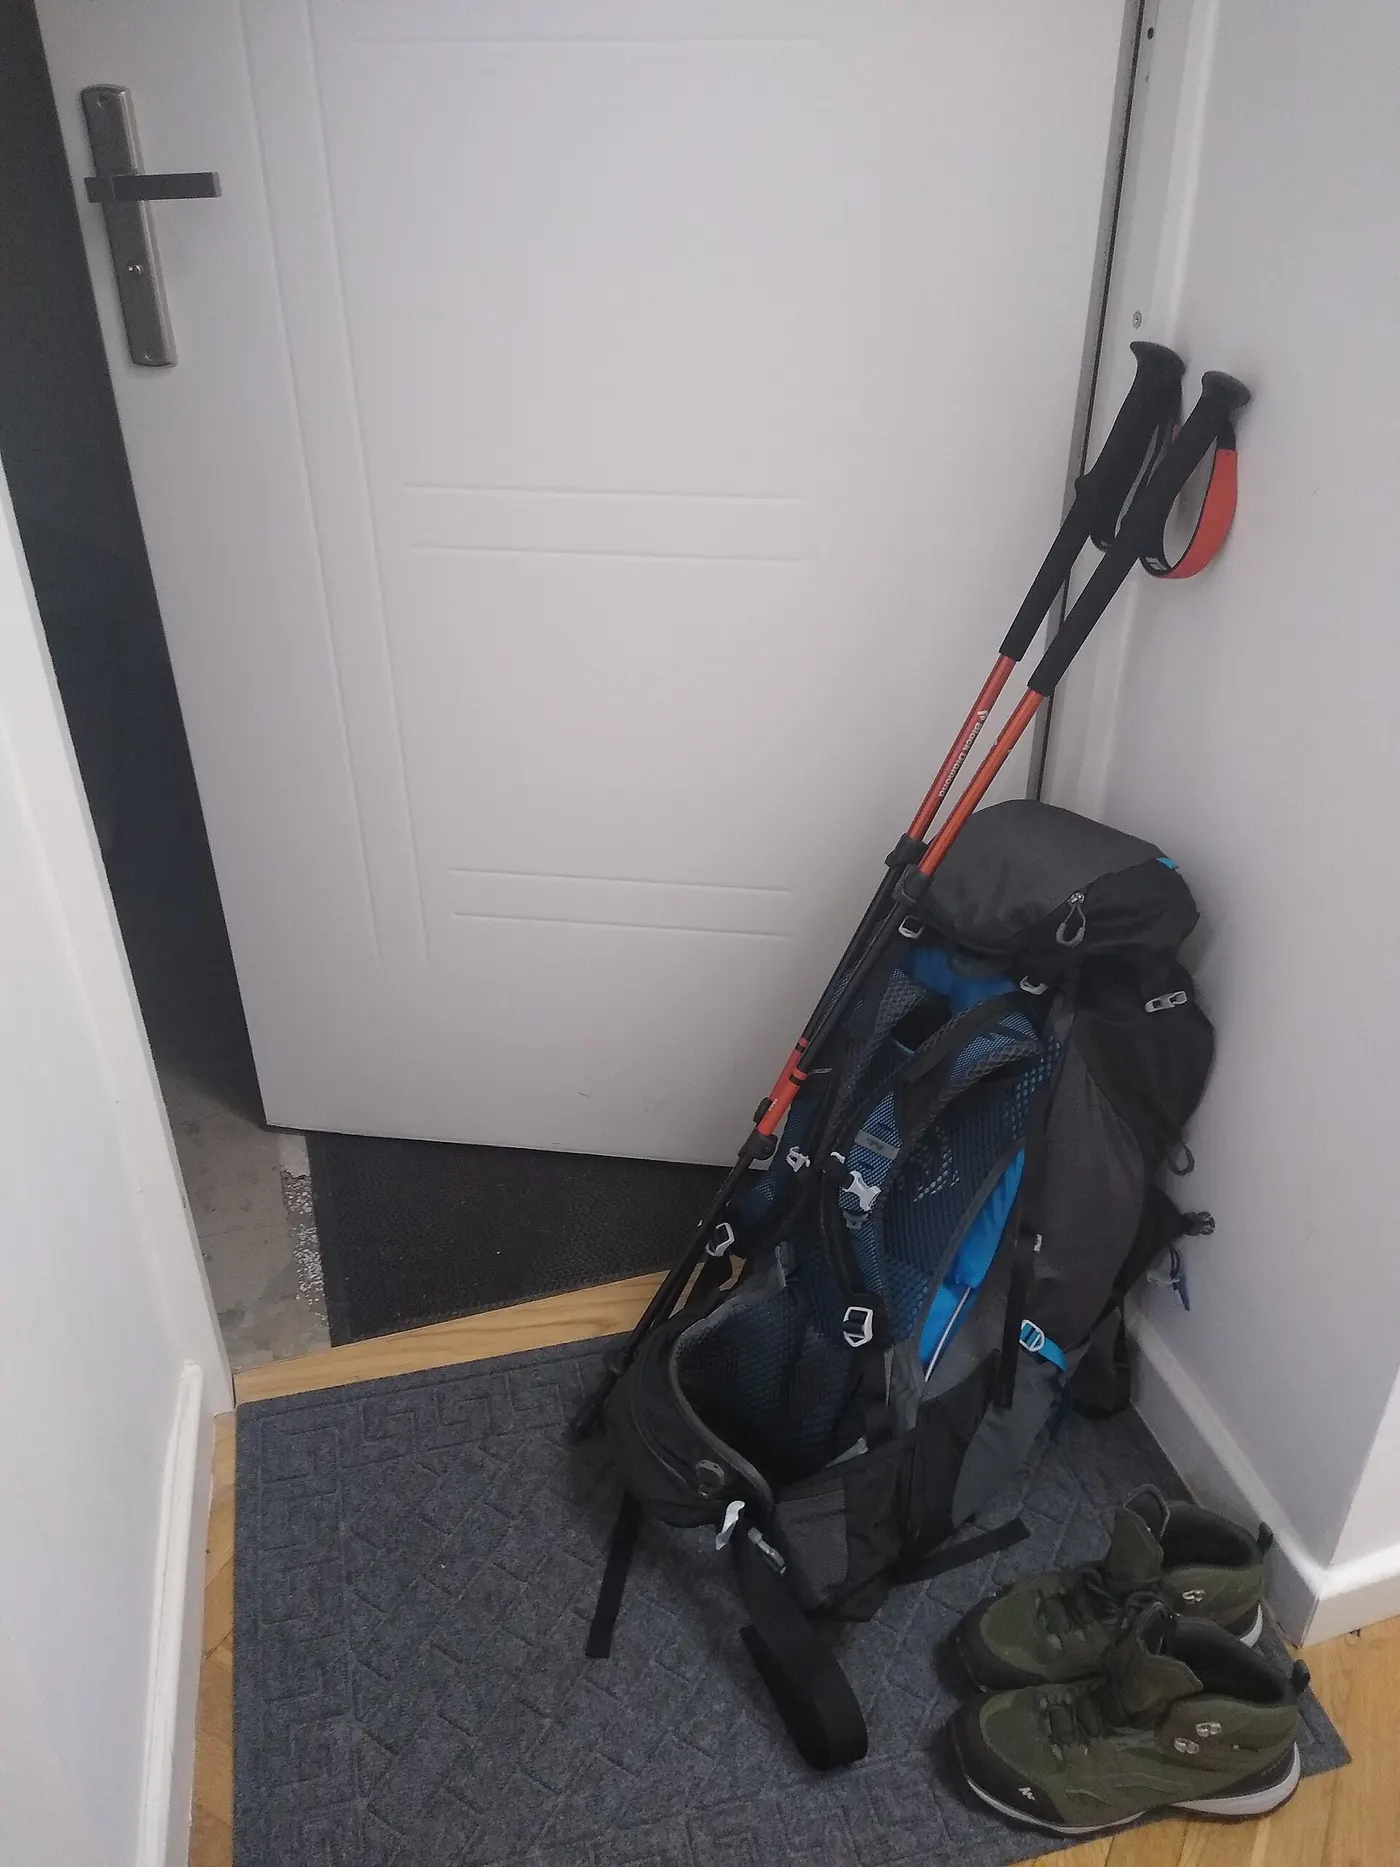
Two people of the same height can need different pack sizes, because packs are built around torso length and torso length is not a fixed share of height. A pack that is too long rides on the shoulders no matter how the straps are set, and a pack that is too short lifts the hip belt off the hip bone.
The second half of the problem is weight. Volume is what you buy; weight is what you carry, and a 30 liter pack filled with books is a different object from the same pack filled with a jacket. This guide covers both, in the order that matters.
Measure the torso, not the height
Torso length is the distance from the bony lump at the base of the neck, the C7 vertebra you can feel when you tip your head forward, down to the level of the top of the hip bones. Have someone else run a soft tape down the spine while you stand normally, because measuring your own back changes your posture and the number with it.
That measurement is what pack makers size frames against, and each maker publishes its own ranges for small, medium and large. The ranges differ between makers by an inch or more, so the number to carry into a comparison is your torso length in inches rather than the letter you wore last time.
Hip measurement is the second number, taken around the top of the hip bones rather than at the waist, because that is the shelf the belt sits on. A belt sized to the waist sits too high and transfers nothing. The size-fit calculator on this site takes both numbers and returns the ranges to look for.
- Stand upright and tip your head forward to find the bony lump at the base of the neck
- Have someone run a soft tape from that point down the line of the spine
- Put your hands on your hips with thumbs back, and find the level where the index fingers meet behind
- Stop the tape at that level and read the inches; that is the torso length
- Measure around the top of the hip bones separately for the belt size, not around the waist
The weight line matters more than the volume
Set a ceiling in pounds before choosing a volume in liters, because a pack will always be filled to whatever it holds. A systematic review of school backpack studies indexed in PubMed Central reports that most of the 12 papers it examined recommended a backpack load limit of 10 to 15 percent of body weight for schoolchildren. The review covers children rather than adults and does not set an adult standard, so treat the band as the best published reference point rather than a rule.
Applied as arithmetic, 15 percent of 140 lb is 21 lb and 15 percent of 180 lb is 27 lb. For a daily commute that is a generous ceiling; a laptop, charger, notebook, lunch and a full bottle usually come in between 10 and 14 lb. For a loaded hiking pack it is a tight one, which is why multi-day packing lists are written in ounces.
Weigh the loaded pack on a bathroom scale rather than estimating. Stand on the scale holding it, stand on it without, and subtract. The difference between a guessed and a measured load is routinely 4 to 6 lb, almost always in the direction of heavier.
| Body weight | 10 percent | 15 percent |
|---|---|---|
| 100 lb | 10 lb | 15 lb |
| 140 lb | 14 lb | 21 lb |
| 180 lb | 18 lb | 27 lb |
| 220 lb | 22 lb | 33 lb |
The band is drawn from a review of studies of schoolchildren. It is shown here as arithmetic on body weight, not as a medical recommendation for adults.
Where the weight sits inside the pack
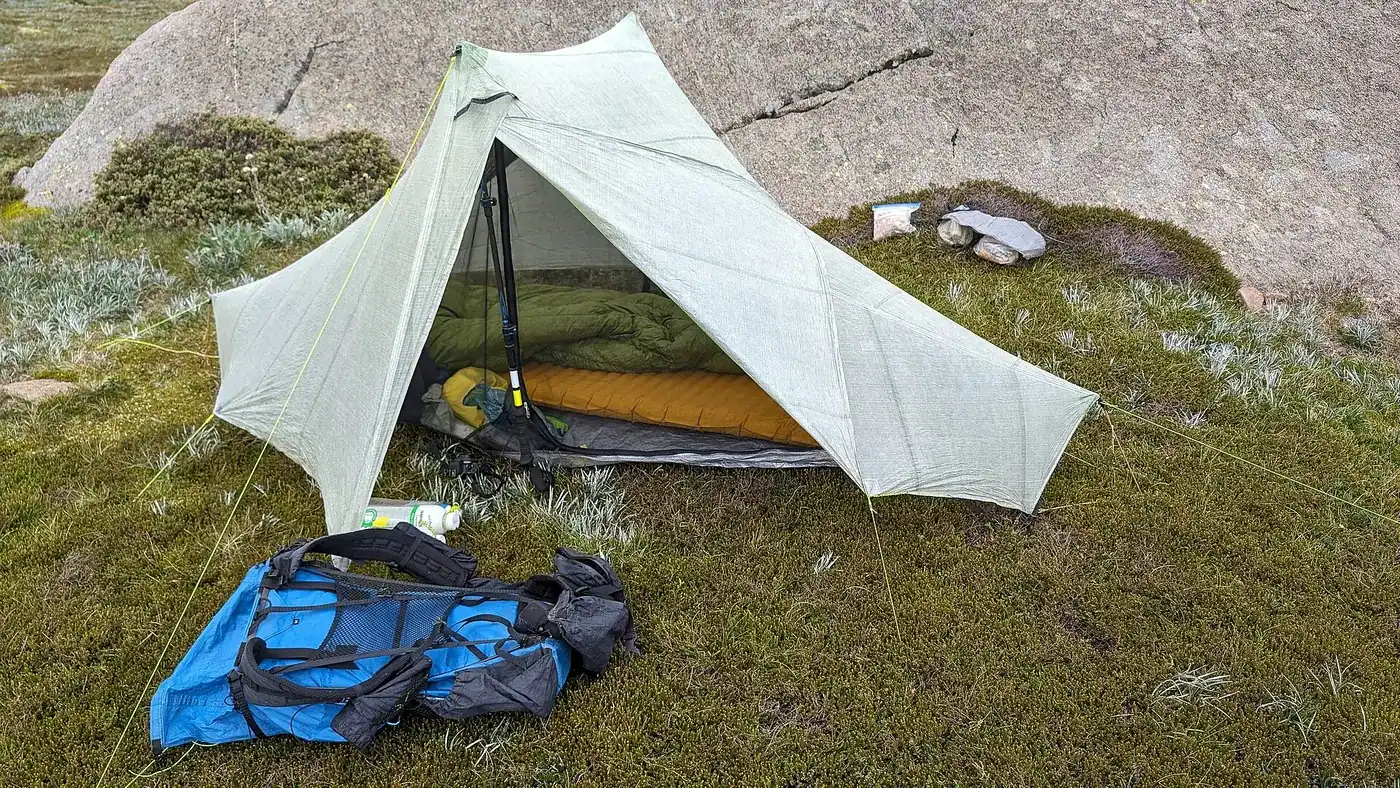
Position changes the felt weight more than the straps do. Heavy items packed low and away from the back pull the shoulders backward and make a 20 lb load behave like a heavier one. The same items packed high and against the back panel keep the load over the hips, which is where a frame can transfer it.
For a daily pack that means the laptop goes in the back sleeve against the spine and the bottle goes in the side pocket, not loose in the main compartment where it migrates to the bottom. For a loaded pack it means the densest item, usually water or food, sits between the shoulder blades and against the back panel.
Empty space works against you as well. A half-filled 30 liter pack lets the contents move with each step, and movement in the pack becomes correction work for the back. Compression straps pulled in, or a smaller pack, both solve it.
| Where the heavy item sits | Effect | When to use it |
|---|---|---|
| High and against the back panel | Weight stays over the hips; most efficient on flat ground | Commuting and walking on paths |
| Mid-height against the back panel | Slightly lower centre of mass; steadier on uneven ground | Rough tracks and scrambling |
| Low and away from the back | Pulls the shoulders back; the load feels heavier than it is | Avoid |
Adjust in this order, every time
Straps have a sequence, and doing it out of order undoes the previous step. Loosen everything first, including the load lifters, so the pack can settle where the frame intends.
Then set the hip belt on the hip bones, pull the shoulder straps until they follow the shoulder without carrying the load, set the load lifters to roughly a 45 degree angle, and clip the sternum strap about an inch below the collarbone. Four steps, in that order, take under a minute and are the difference between a pack that fits and a pack that is the wrong size.
If the load lifters will not reach 45 degrees, or the hip belt sits above the hip bones with the shoulder straps snug, the frame length is wrong and no adjustment will fix it. That is the signal to change size rather than to tighten something.
- Loosen every strap, including the load lifters, and put the loaded pack on
- Fasten the hip belt on the top of the hip bones and tighten it there
- Pull the shoulder straps until they follow the shoulder without taking the load
- Set the load lifters to around a 45 degree angle from the shoulder to the pack
- Clip the sternum strap about an inch below the collarbone and leave it loose enough to breathe
- Walk for 5 minutes and repeat the hip belt step, because the load settles
When a bigger pack is the wrong answer
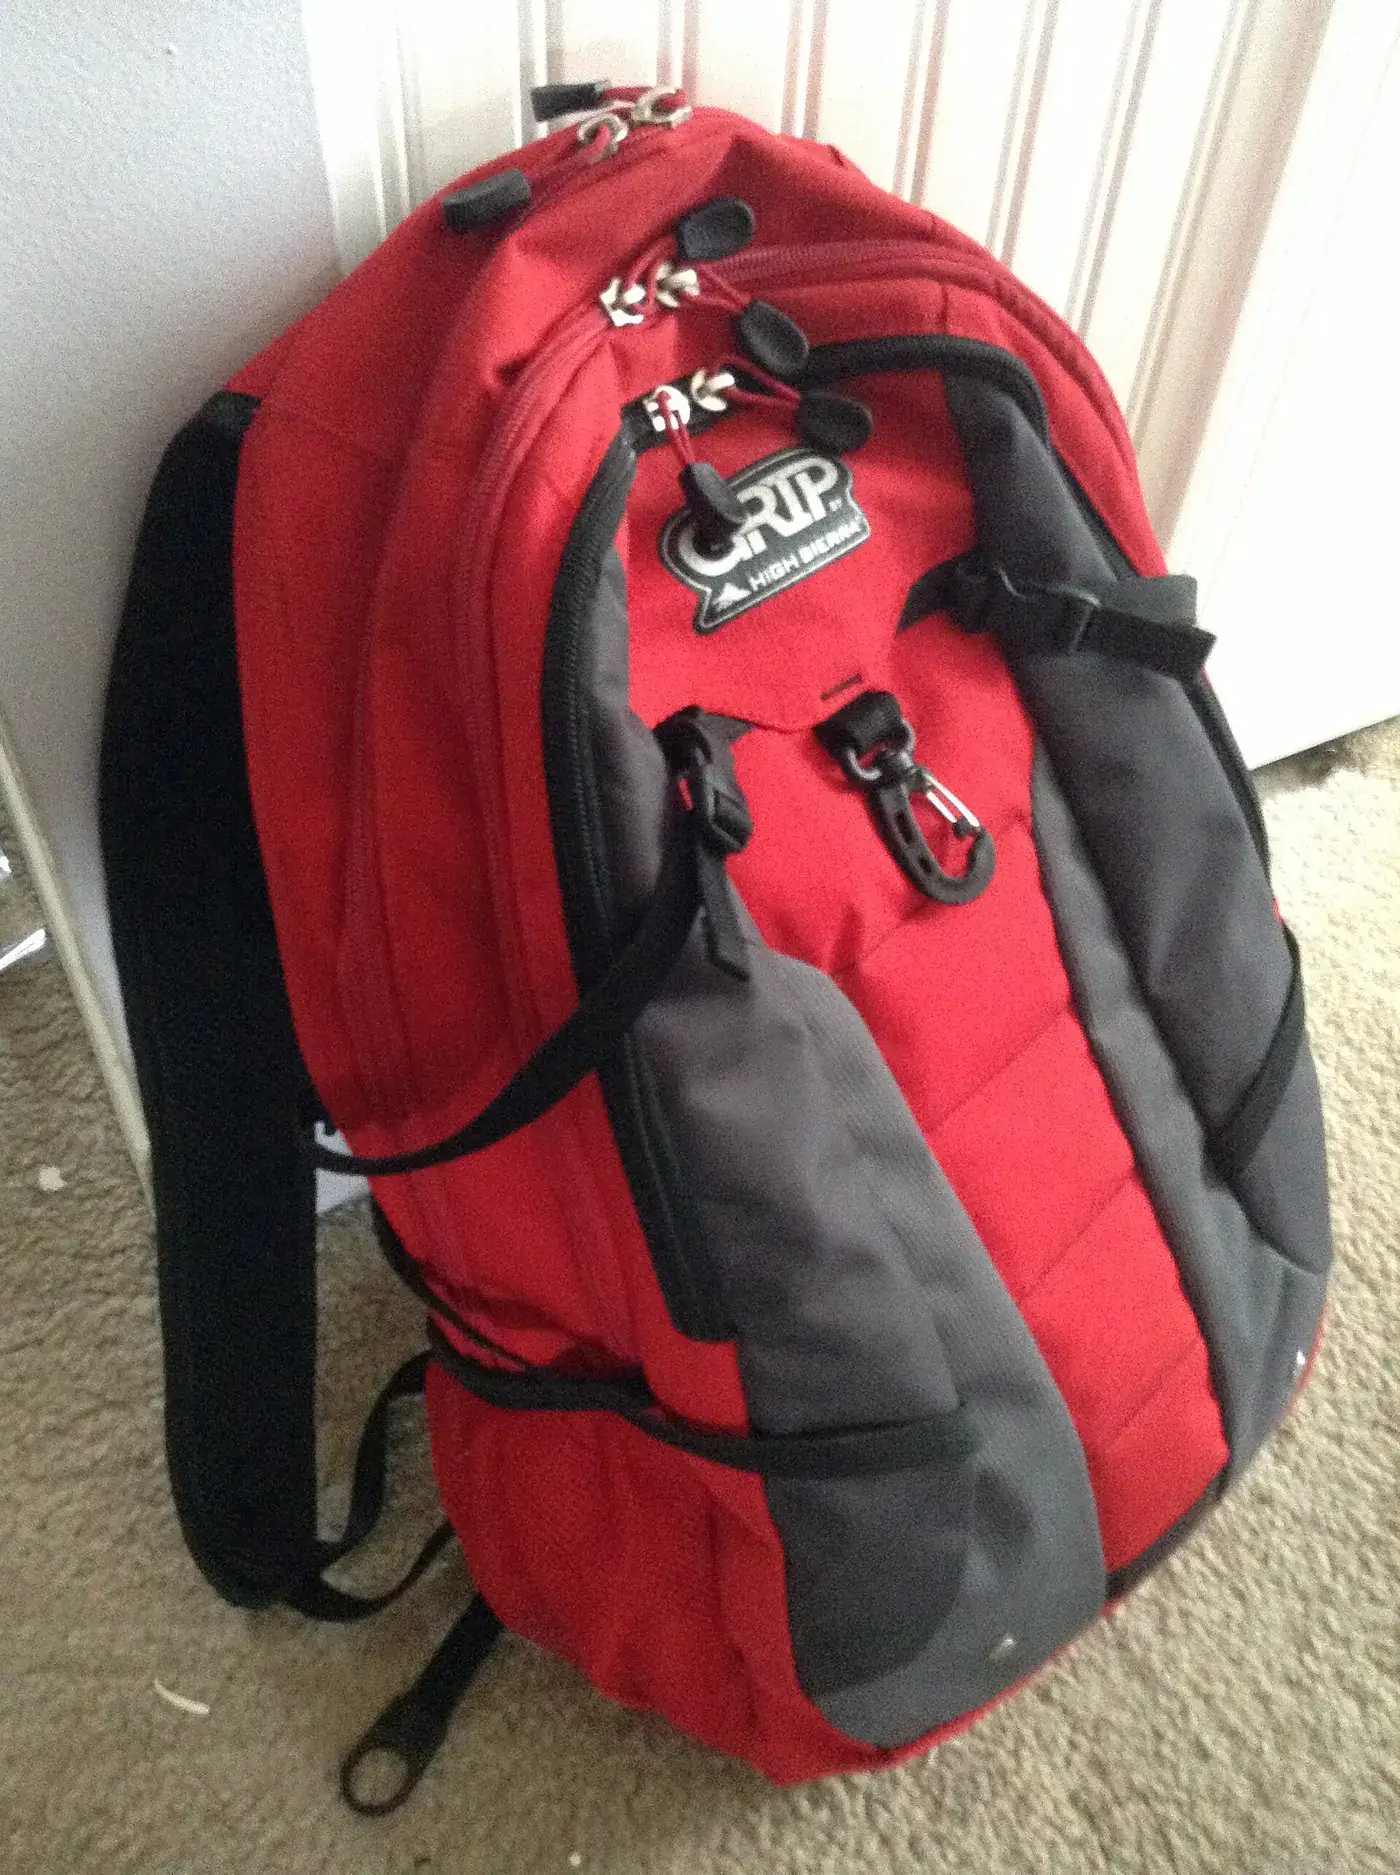
The usual reason for sizing up is a few days a year. A 40 liter pack carried on 240 commuting days to cover 10 travel days is a worse purchase than a 20 liter pack and a folded 25 liter duffel, because 230 of those days are spent carrying an empty, flapping upper section.
Cabin travel has its own limits, and they are published by each airline rather than set nationally. The Transportation Security Administration rule that is national concerns liquids rather than bag size: containers of 3.4 ounces or 100 milliliters or less, carried in one quart-sized bag. A pack whose outer pocket holds that quart bag flat is faster through screening than a larger pack without one.
Before you buy
- Have someone measure your torso from the C7 vertebra to the top of the hip bones, in inches
- Measure around the top of the hip bones separately for belt sizing
- Weigh the loaded pack on a bathroom scale by difference rather than estimating it
- Compare the load against the 10 to 15 percent of body weight band before adding anything
- Pack the heaviest item high and against the back panel
- Adjust hip belt, shoulder straps, load lifters and sternum strap in that order, then walk 5 minutes and redo the belt
- If the load lifters cannot reach 45 degrees, change the frame size rather than the straps
Questions readers ask
- Can I use my height to pick a pack size?
- Height is a poor proxy, because torso length varies independently of leg length. Two people at 5 ft 10 in can differ by 2 inches of torso, which is a whole frame size on most packs. The measurement from the C7 vertebra to the top of the hip bones takes two minutes and removes the guess entirely.
- Should the weight be on the shoulders or the hips?
- On a pack with a real frame and a belt that reaches the hip bones, most of the load should sit on the hips, with the shoulder straps keeping the pack against the back rather than carrying it. On a frameless daypack there is nothing to transfer the load, so the shoulders take it, which is why the weight ceiling matters more on small packs than people expect.
- How heavy is a normal commute load?
- A 13 to 14 inch laptop, charger, notebook, lunch and a full 20 oz bottle usually weigh 10 to 14 lb together. Against the 15 percent band that is comfortable for anyone over about 95 lb of body weight, and the figure is worth measuring once on a bathroom scale rather than estimated.
- What do load lifters actually do?
- They pull the top of the pack toward the shoulders so the weight stays over the body instead of levering backward. They work when they leave the pack at roughly 45 degrees. If they run flat or vertical, the frame is the wrong length for your torso, and tightening them further pulls the shoulder straps into the neck.
- Is a hip belt worth it on a 20 liter pack?
- Usually not, unless it reaches the top of the hip bones. Most 20 liter packs put a thin strap at waist level, which steadies the pack when running but transfers no weight. At a 10 to 14 lb commute load there is little to transfer, so the sternum strap does more useful work.
Sources
- PubMed Central — systematic review of reported influences of backpack loads on postural deviation among school children (10 to 15 percent of body weight) — checked 2026-11-03
- Transportation Security Administration — liquids rule (3.4 ounces or 100 millilitres per item, one quart-sized bag) — checked 2026-11-03
Some links on this site can earn us a commission. That does not change which product a guide recommends, and it adds nothing to your price. Advertising is not enabled on this site yet. When it is, ads will be labelled and kept visually separate from the guides.